
Make Your Own Foam Sword
Knights Larping Battle is planning a hands-on foam sword workshop for people who want to shape, customize, and finish their own battle sword.
Participants will start with a prepared rectangular foam sword blank. The blank will already have the basic foam structure and center support prepared ahead of time. From there, participants can choose a sword template, trace the shape, cut and sand the foam, and decorate the sword using available tools and supplies.
This workshop is designed for older teens and adults who are comfortable following instructions and using basic tools safely.
How It Works
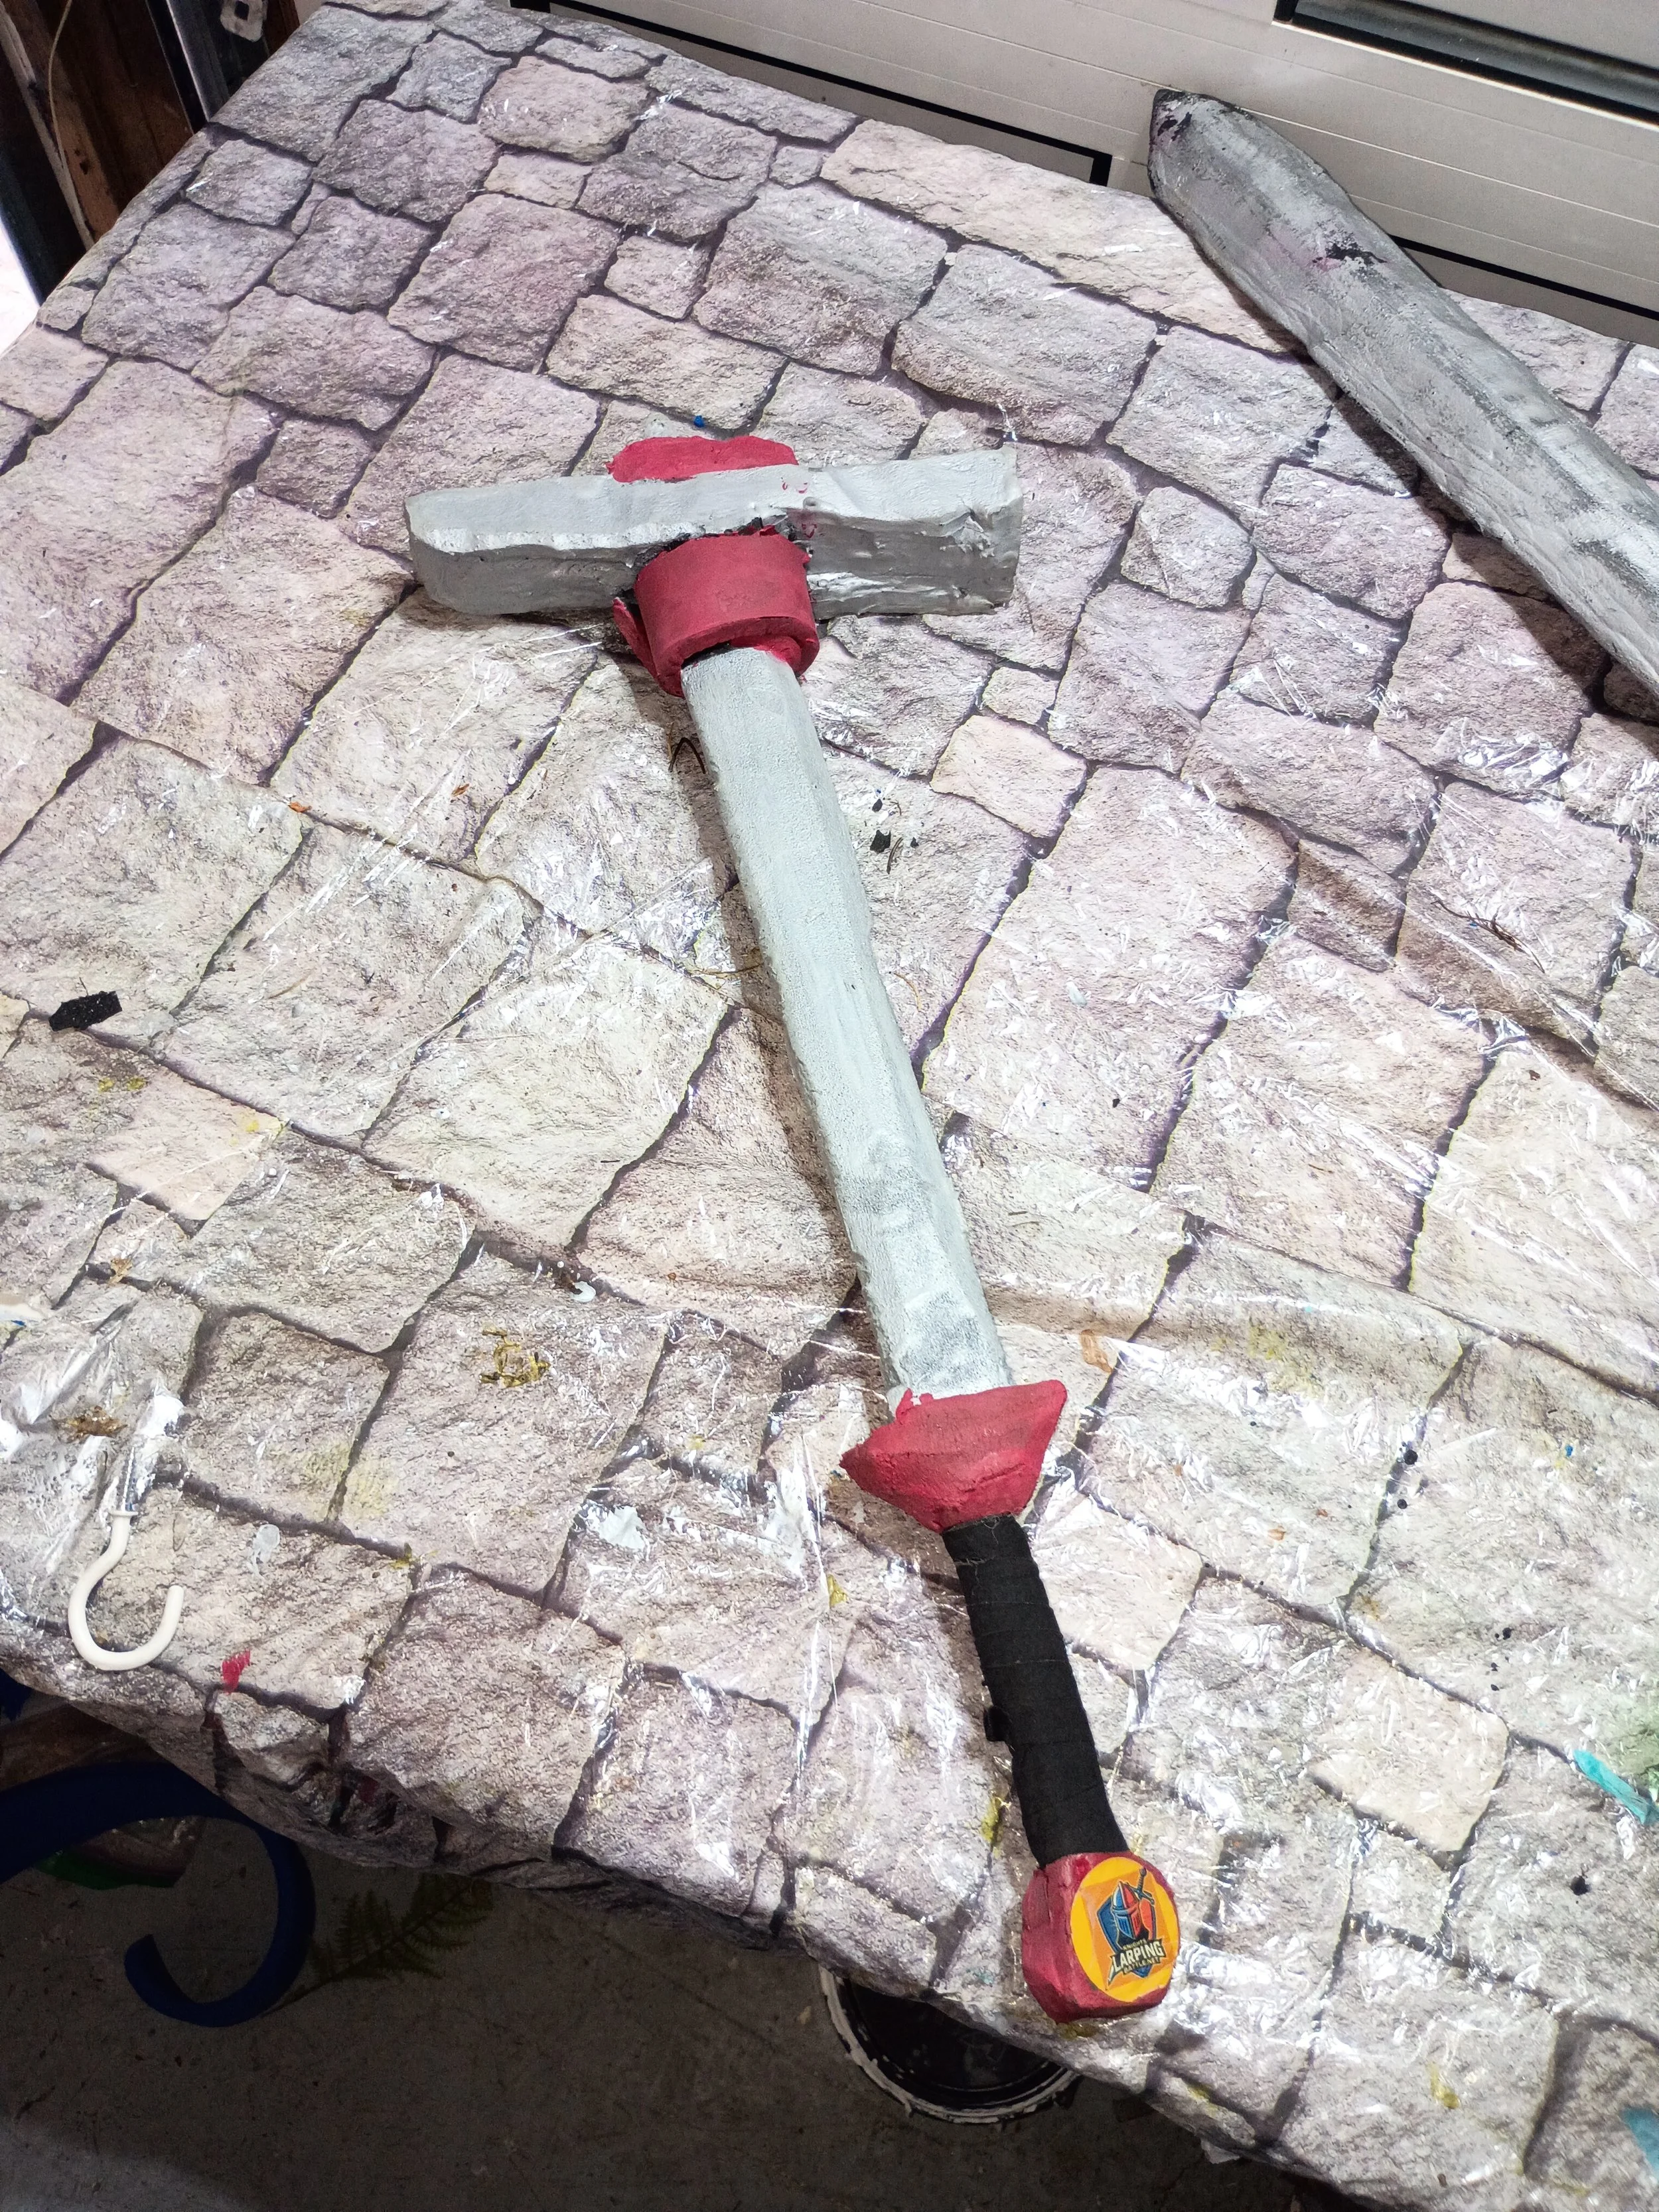
Step 1: Start With a Prepared Sword Blank
Each participant will begin with a prepared rectangular foam sword blank.
The foam pieces will already be attached together with a fiberglass rod safely secured inside the center. This gives the sword a strong inner structure while keeping the outside padded and foam-based.
Step 2: Choose a Sword Template
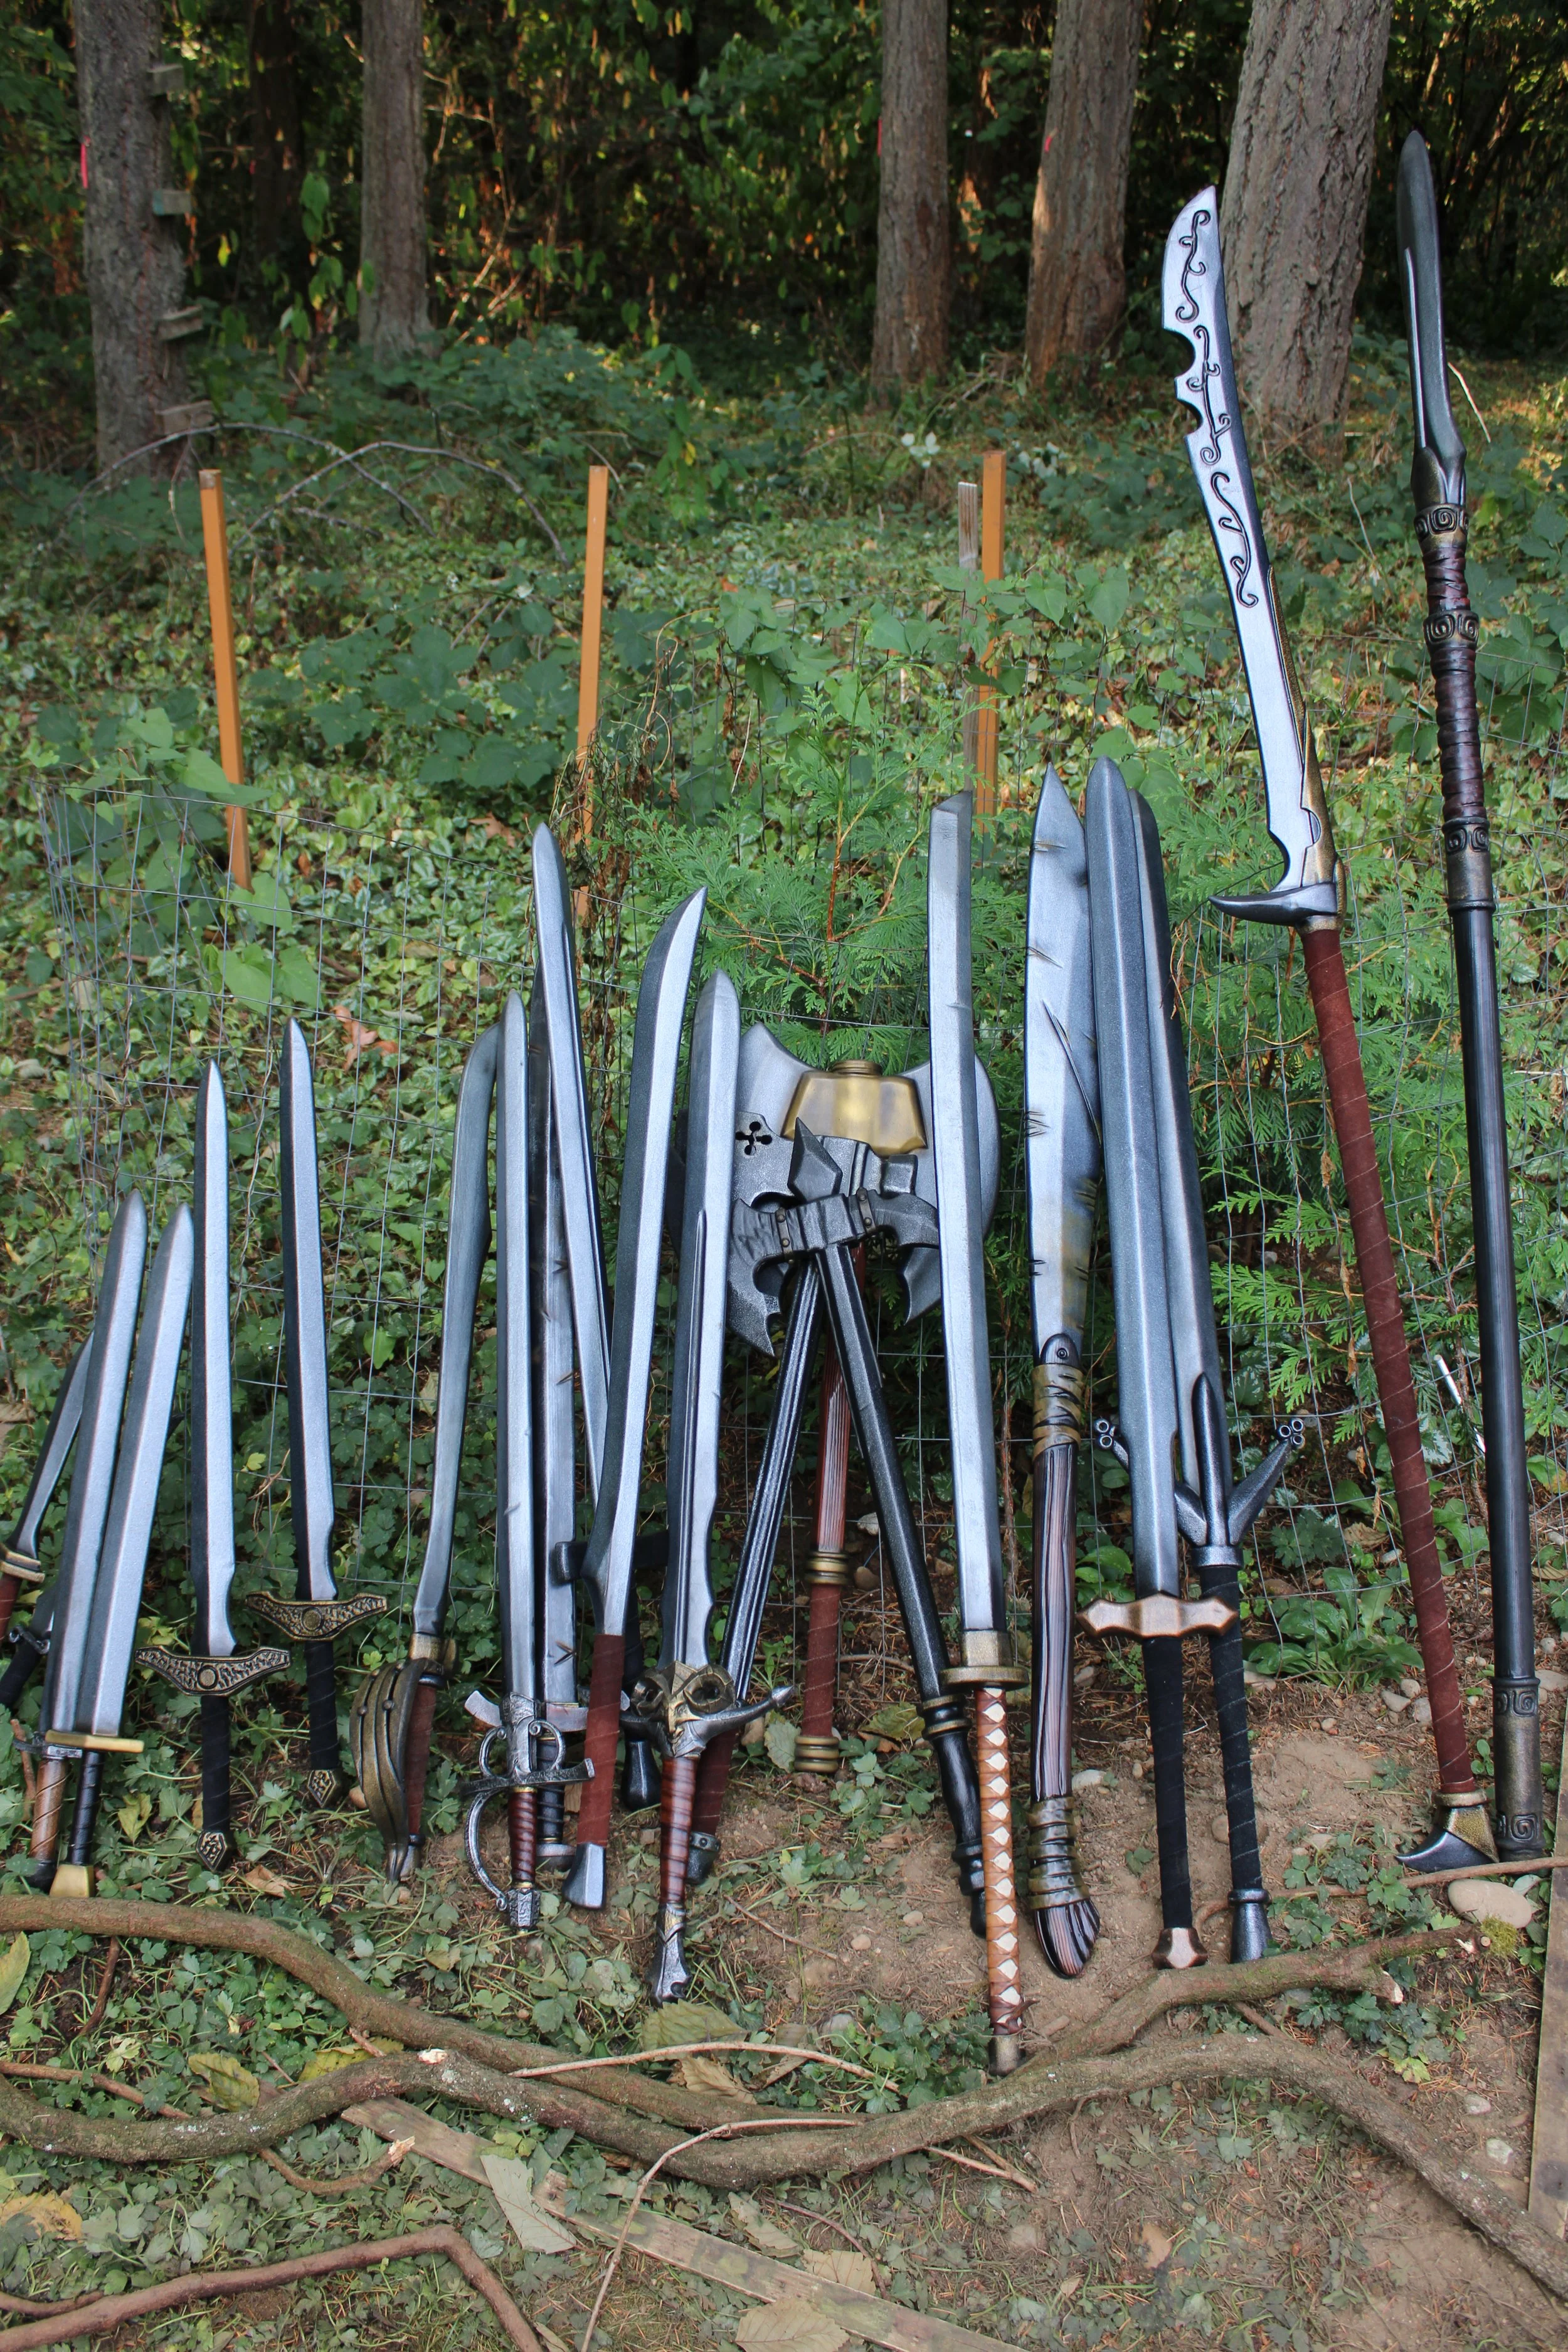
Participants will choose from several sword templates based on the foam swords already used at Knights Larping Battle.
These templates are inspired by professionally made foam battle swords, giving participants a practical starting shape while still allowing room for personal creativity.
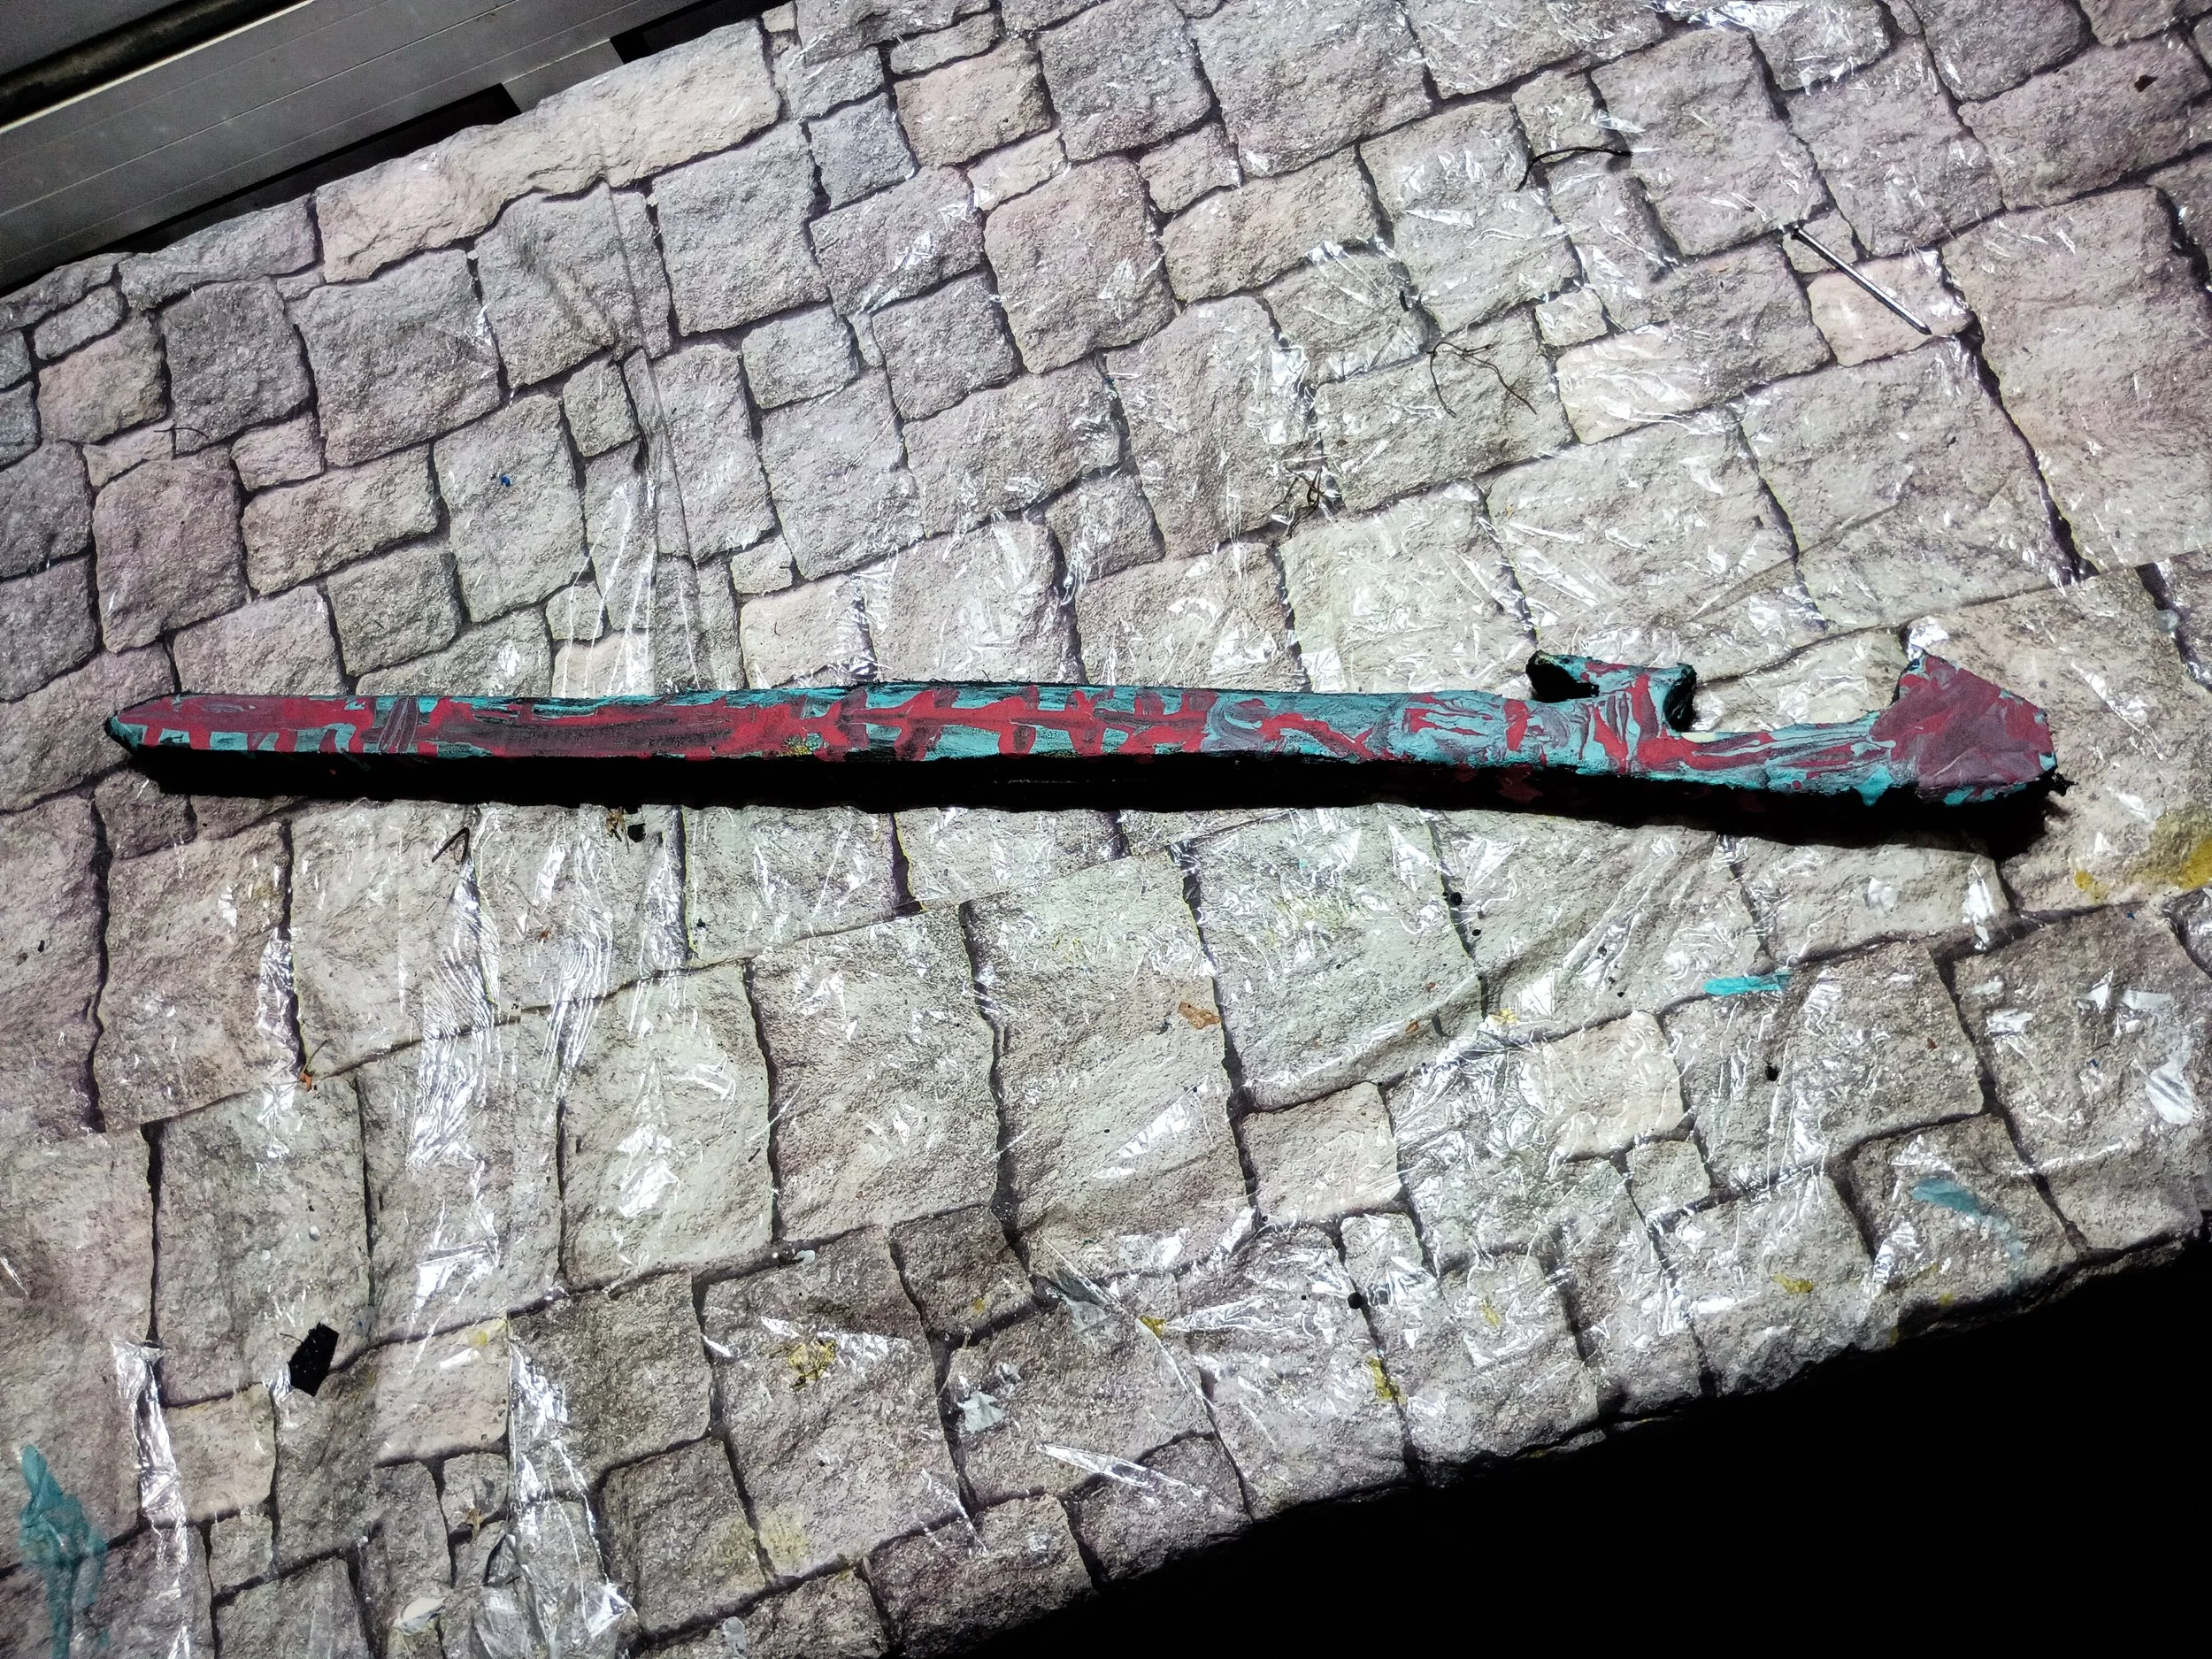
Step 3: Trace and Cut the Shape
Once a template is chosen, participants will trace the sword shape onto the foam blank.
Participants will then be responsible for cutting out their own sword shape using the available tools and following the workshop safety rules.
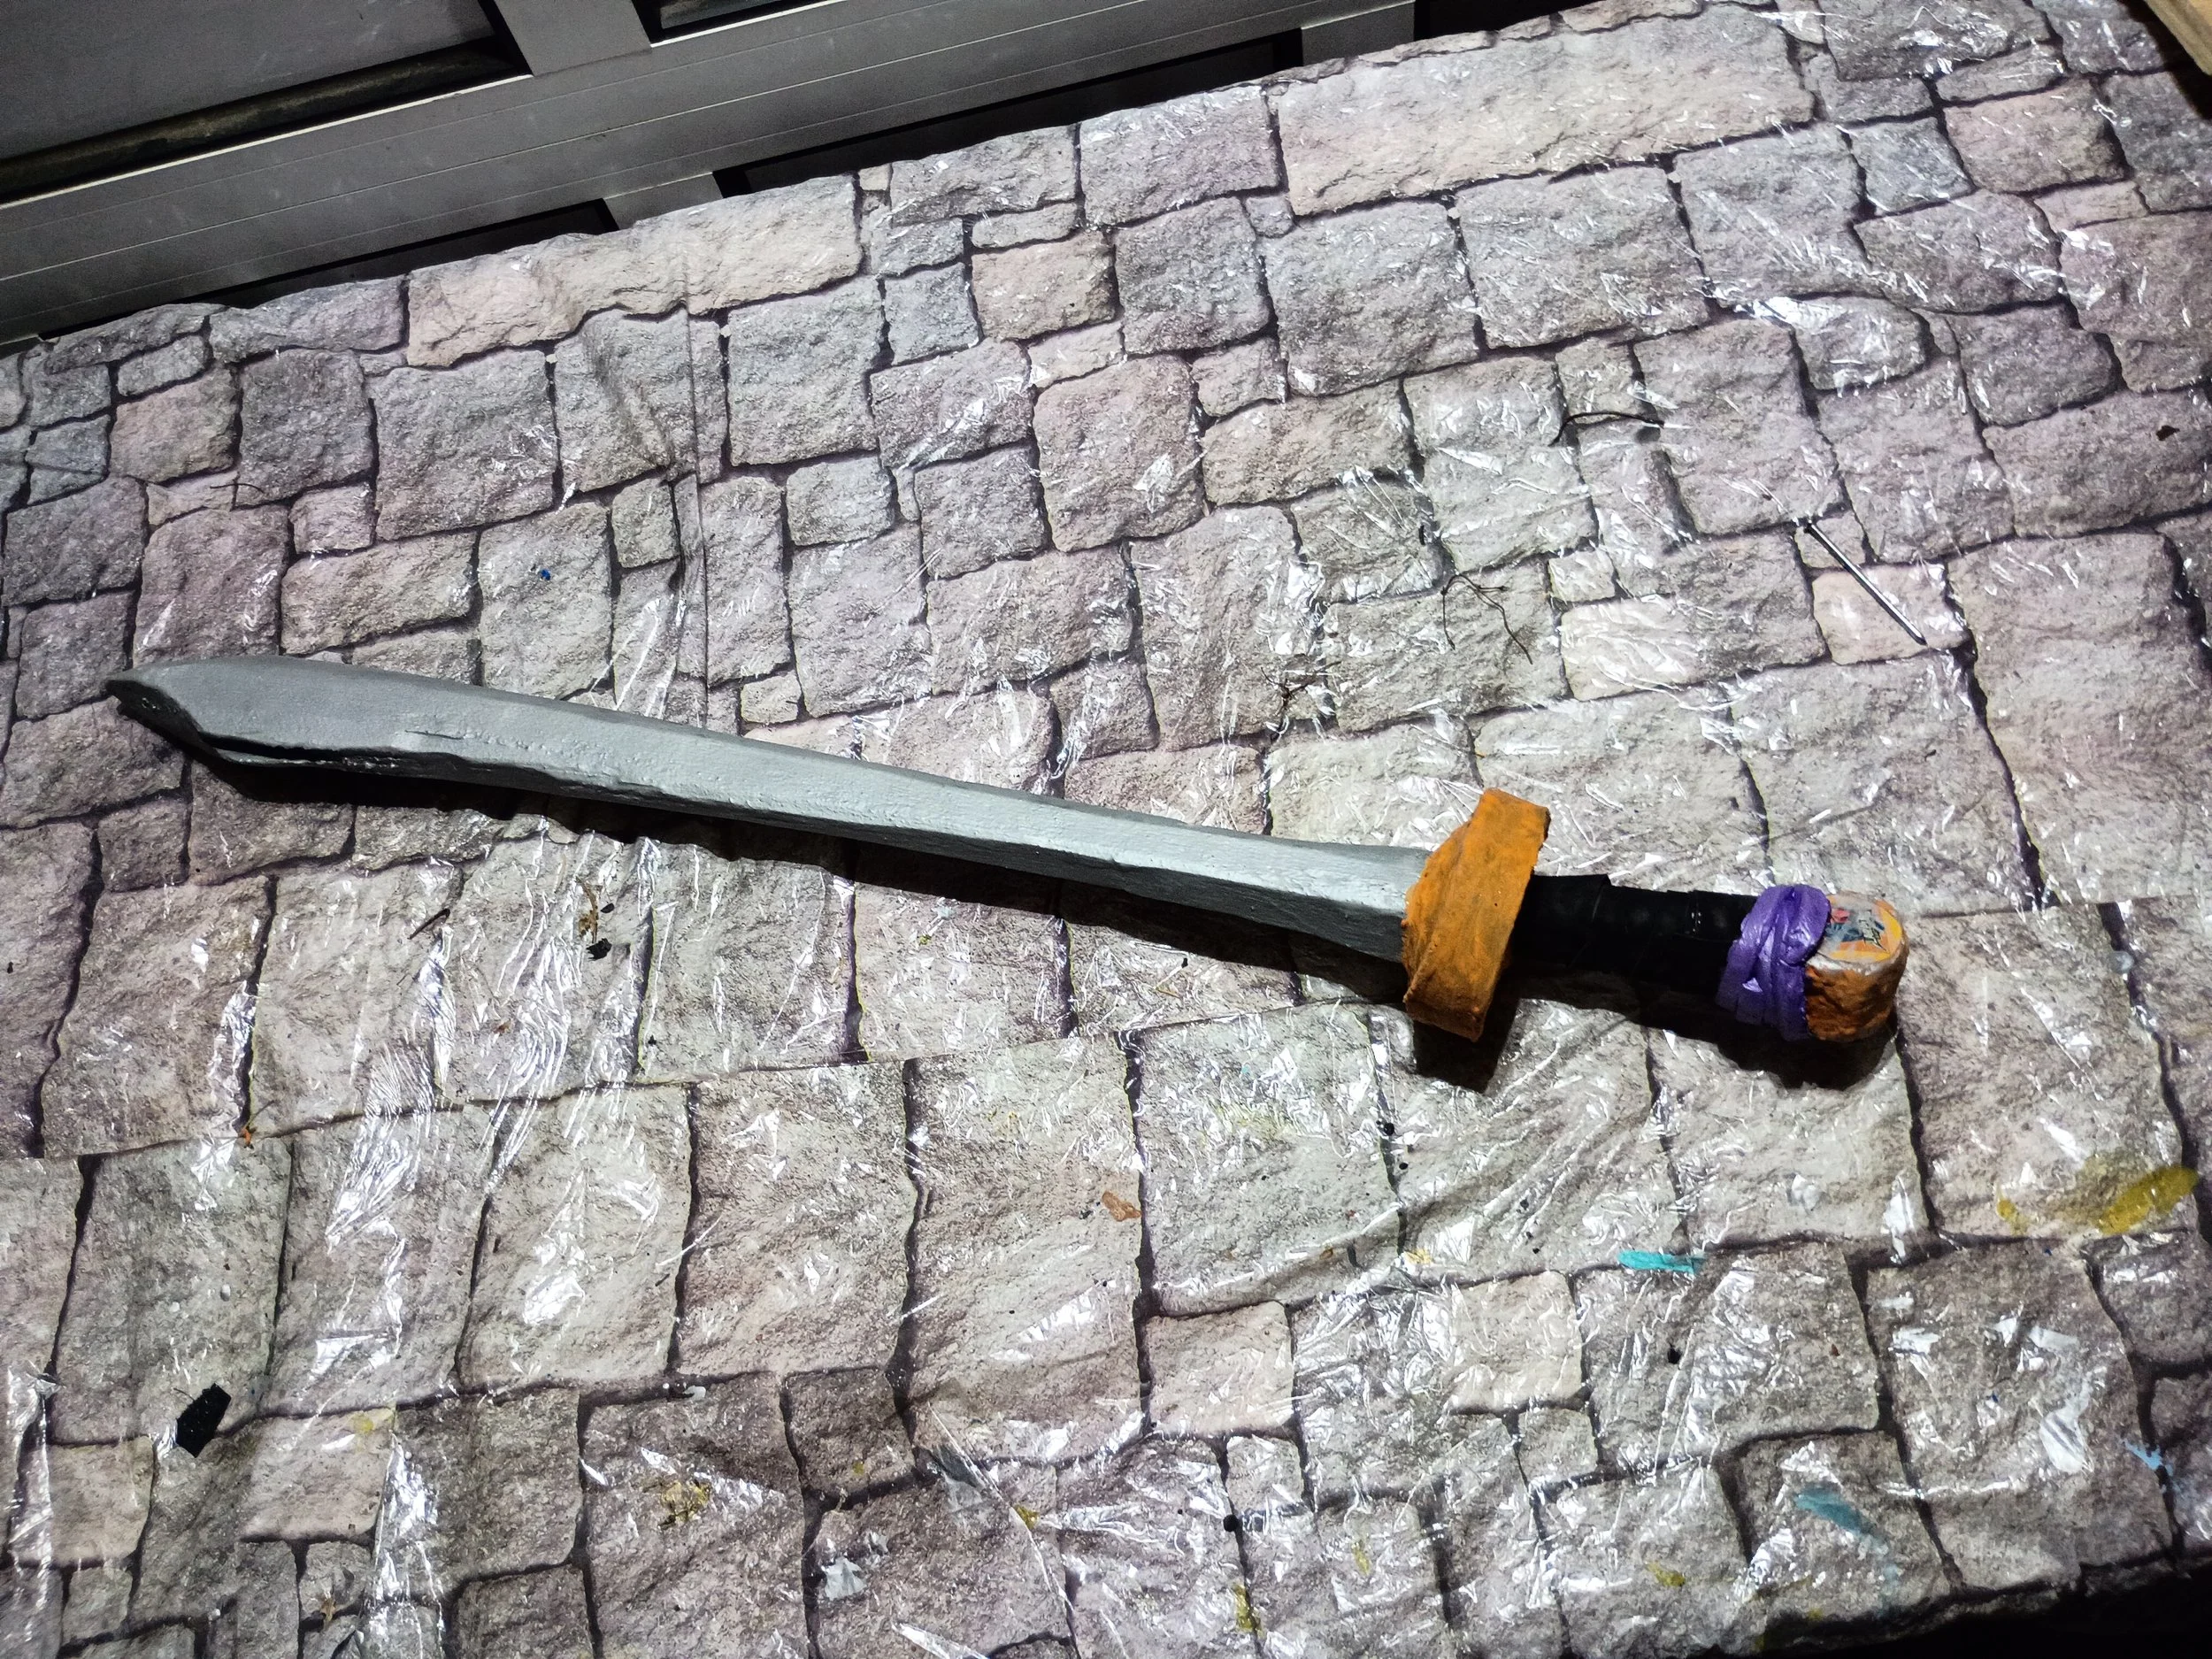
Step 4: Sand and Shape the Sword
After the sword is cut, participants can sand and smooth the edges.
This may include shaping the blade, rounding corners, cleaning up rough areas, and making the sword feel more finished.
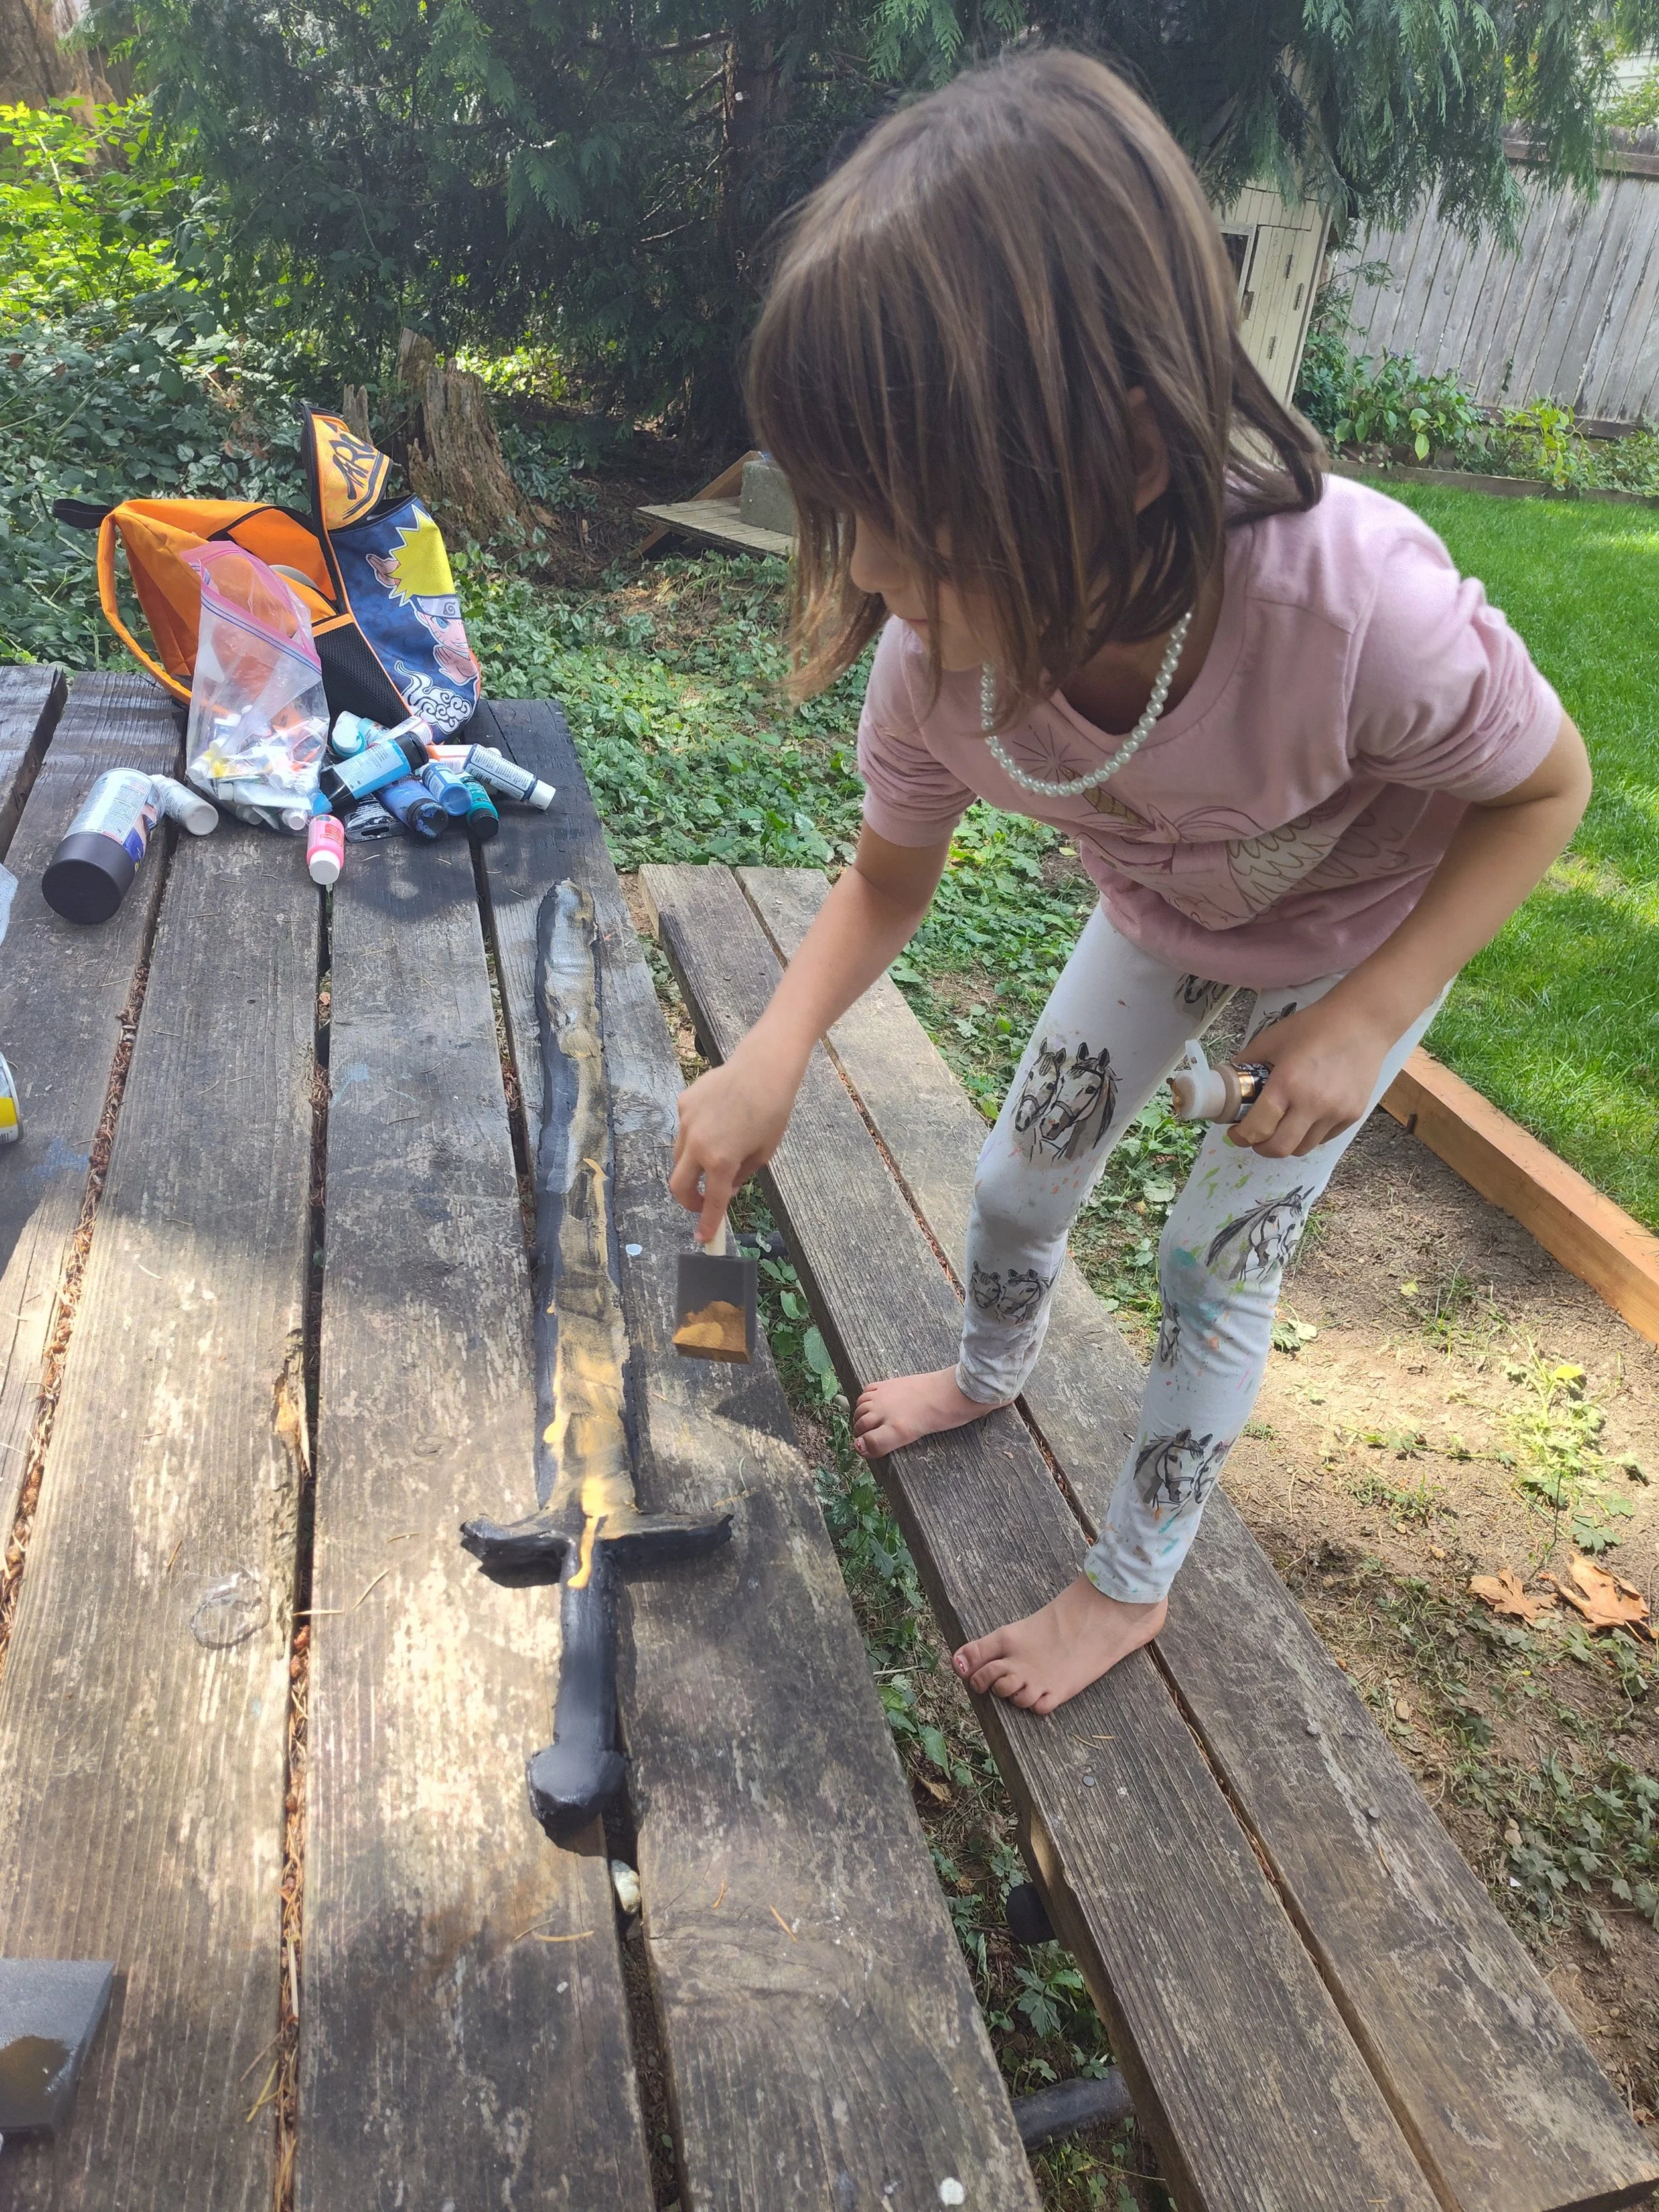
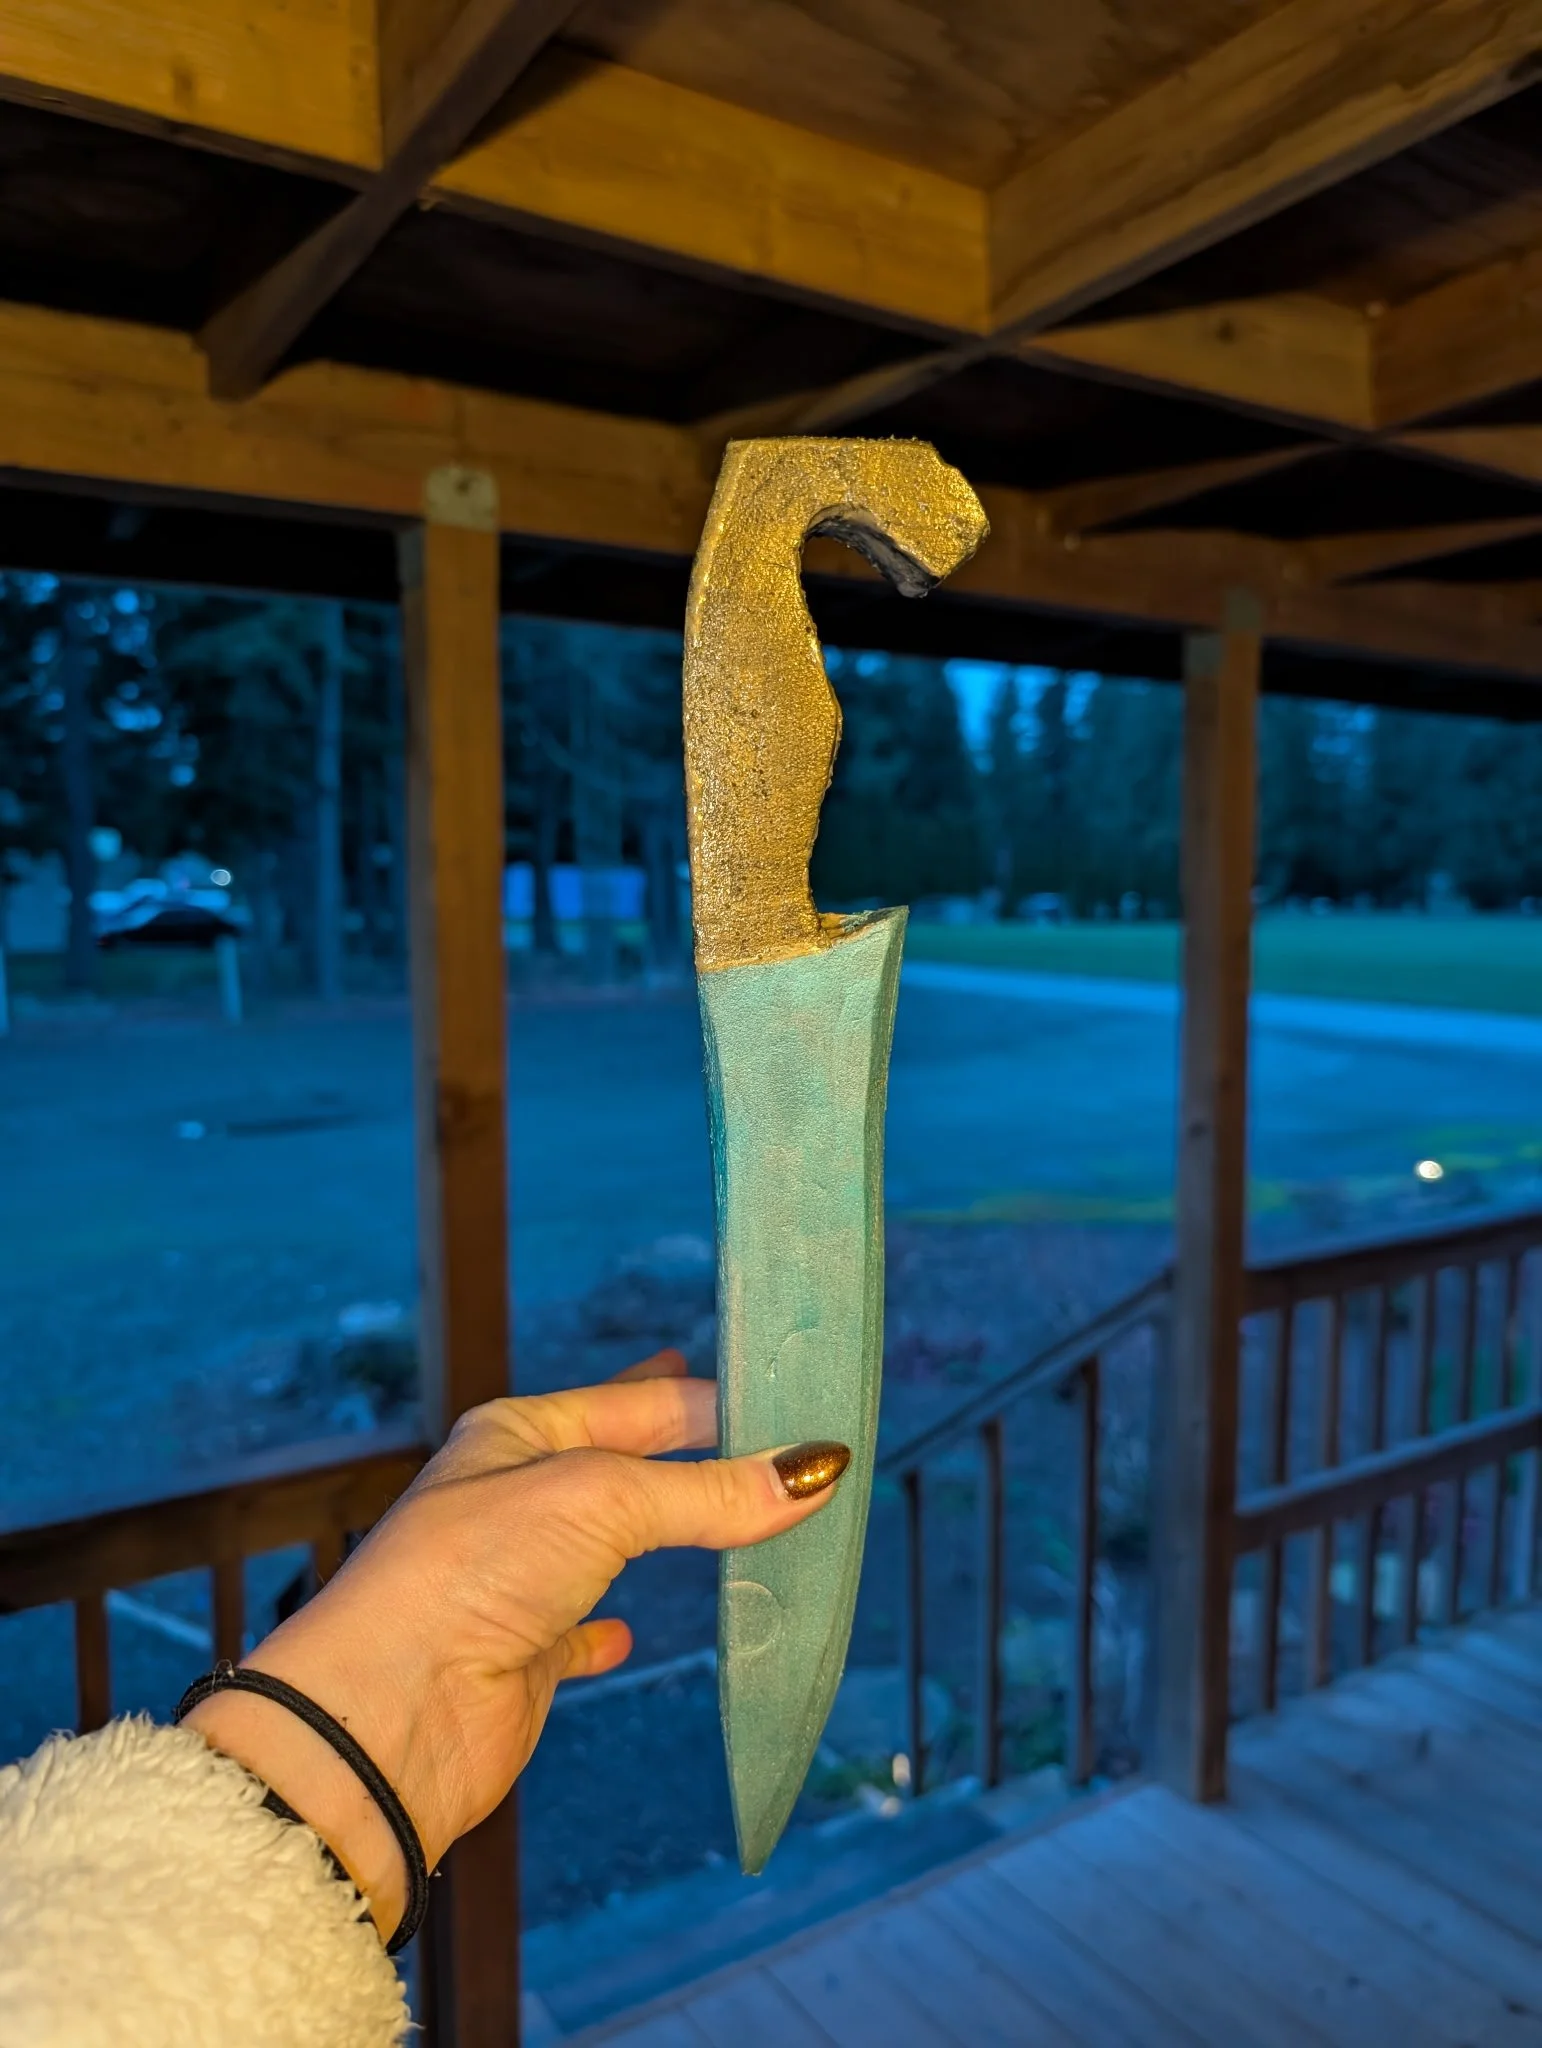
Step 5: Paint and Decorate
Once the sword is shaped, participants can paint and decorate it.
This is where the sword gets its personality. Participants may add colors, symbols, designs, handle details, or team-style decoration.
Step 6: Final Safety Check
Before any homemade sword can be used at Knights Larping Battle, it must be checked for safety.
We will look for safe padding, no exposed fiberglass rod, no sharp edges, safe tips, controlled striking surfaces, and no overly hard or unsafe spots.
Only approved swords may be used during official matches, warm-ups, or open sparring.
What Is Provided
Prepared rectangular foam sword blank
Sword templates
Workspace
Basic tools and equipment
Paint and decorating supplies
General instruction and guidance
Final safety check
Participant Responsibility
This is a hands-on workshop. Participants are responsible for shaping, cutting, sanding, painting, decorating, and cleaning up their own work area.
Knights Larping Battle will provide materials, tools, safety rules, and general guidance, but participants must be comfortable working carefully and following instructions.
Age and Safety
Because this workshop may involve cutting, sanding, tools, and detailed hands-on work, it is intended for older teens and adults.
Younger participants may not be eligible unless approved ahead of time and accompanied by a parent or guardian.
Knights Larping Battle may limit participation based on age, safety, comfort level, and workshop setup.
Cost
Estimated cost: $30 per sword blank / workshop spot
This helps cover the prepared foam sword blank, use of tools and equipment, templates, paint, decorating supplies, workspace, and general guidance.
Important Note
The goal is to create a safe foam sword, not a real weapon. All finished swords must pass a safety check before they can be used at Knights Larping Battle events.
Choose your shape. Build your sword. Make it yours. Bring it to battle.
Button: